Frame Docking
MaxGauge client provides optimum monitoring views suitable for various environments by using the Frame Docking function.
SUB) Add a Frame
Follow the steps below to add a frame.
1. Select Menu-> Select the frame from the Docking Frame List.
2. The selected frame will appear in the center of the window.

3. Click on the frame title bar and drag it over to the desired position. And then, if you put your mouse over the navigation arrow on the window, you will be able to check the areas for docking.
4. If you release the mouse click, then the docking will be complete.

SUB) Remove a Frame
To change the position of the frame, you must first remove the frame from the docking and insert it back onto the docking. To remove a frame, follow the steps below.
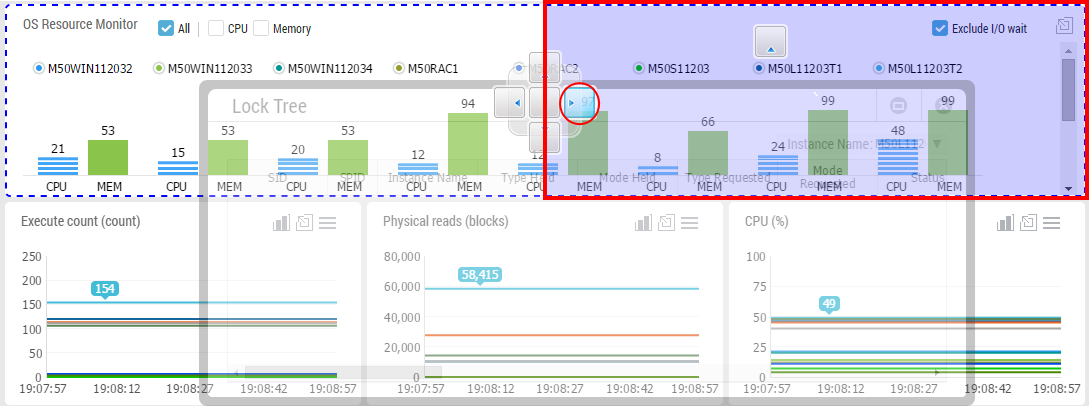
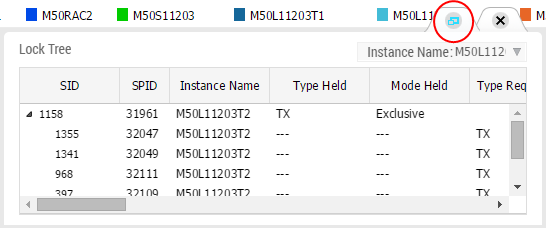
1. If you put your mouse over the frame of interest, two tabs will appear on the top right corner of the frame. Click on the left tab.
SUB) Re-insert a Frame
Follow the steps below to re-insert a frame which you had removed, back to its original docking position.
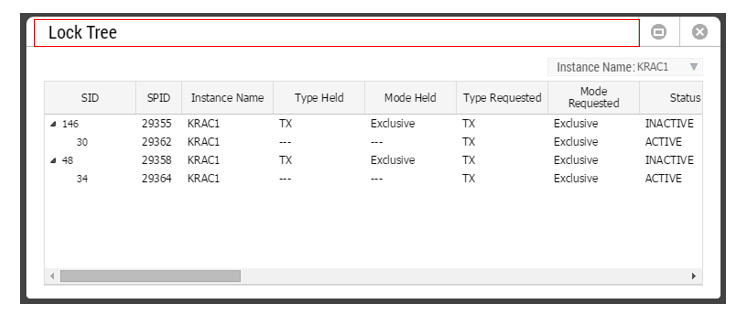
1. Double-click the frame title.
SUB) Delete a Frame
The method for deleting a frame is as follows.
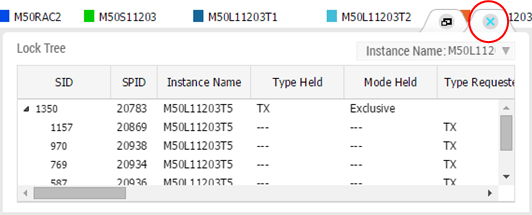
1. If you put your mouse over the frame of interest, two tabs will appear on the top right corner of the frame. Click on the right tab.
Save Window Layout
MaxGauge allows the user to directly customize the window layout to suit his or her own environment through Frame Docking and Window Layout Save functions. To save the customized window layout, follow the steps below.
1. Dock the appropriate frames on the user’s monitoring environment.
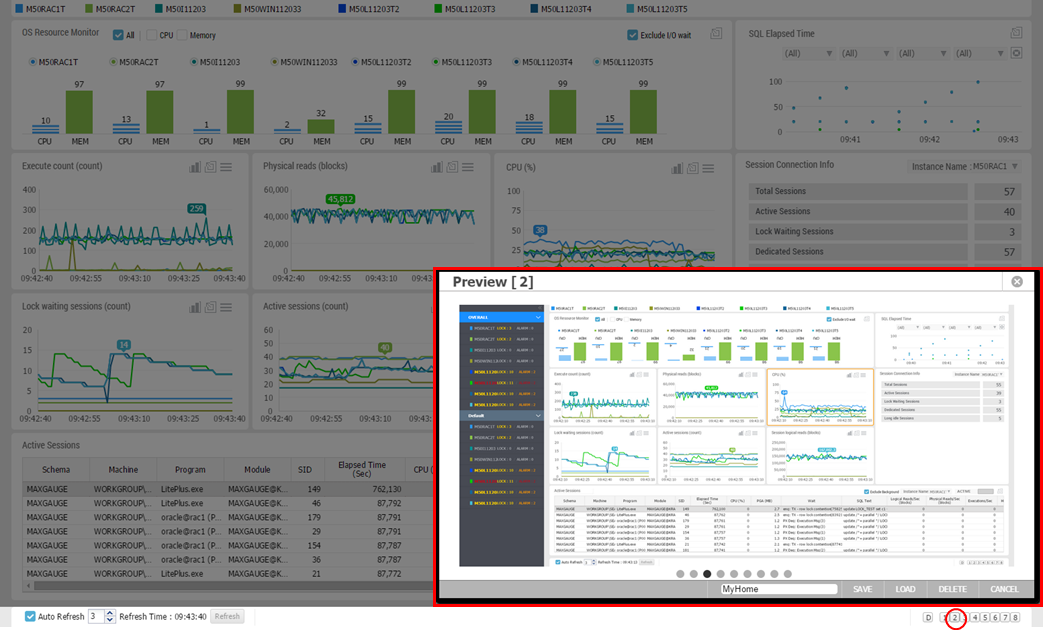
2. If you click on the button number on the right bottom corner of the window, the layout save window will appear. Enter the desired title into the field window and click the SAVE button.
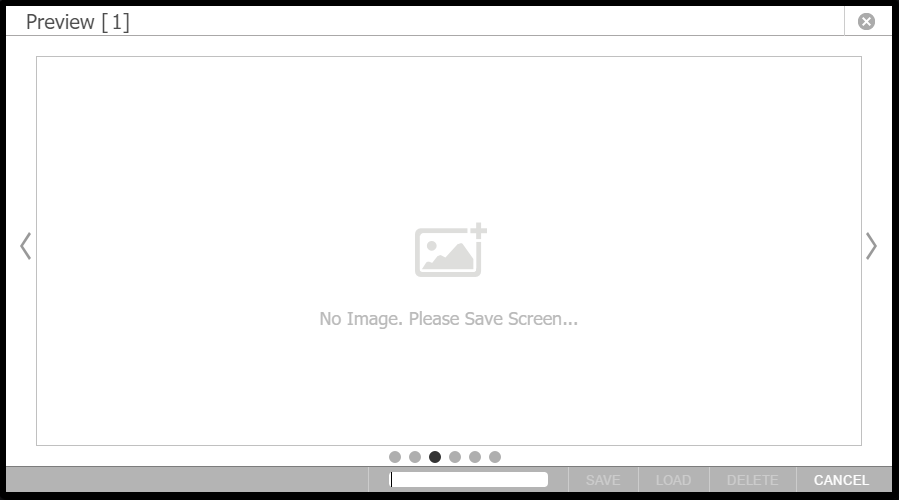
3. You can check the layout by putting your mouse over the numbers on the right bottom corner.